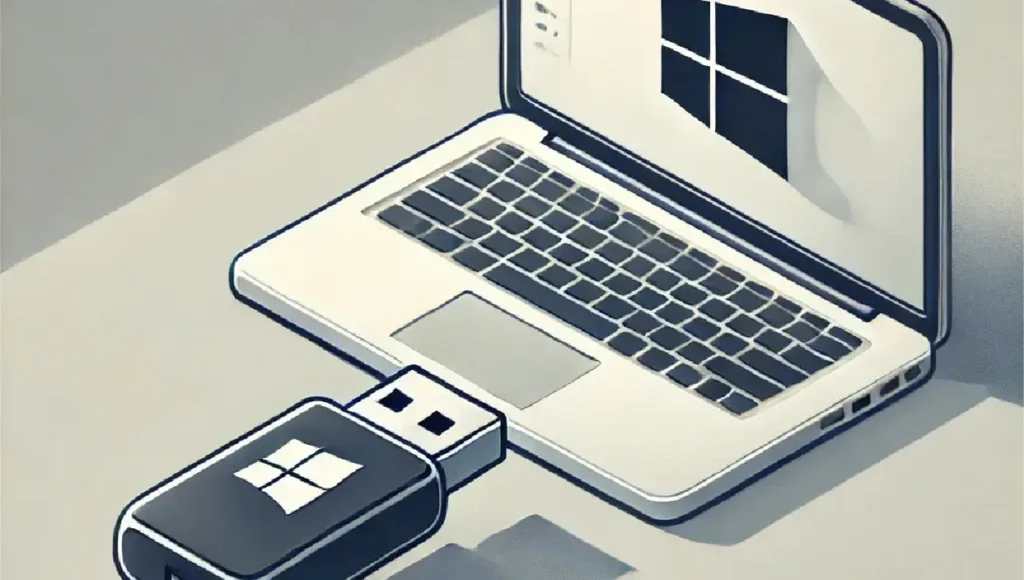
A bootable Windows USB lets you install Windows or access its setup environment on a compatible PC. Start with Microsoft’s official download page, choose the correct Windows version, and back up files before preparing the drive or changing an existing installation.
What you need before you start
- A reliable internet connection and a working computer for creating the installation media.
- A blank USB flash drive with at least 8 GB of space. Creating installation media erases its contents.
- A target PC that meets Microsoft’s requirements for the version of Windows being installed.
- The correct Windows edition and a valid license for that device. Installation media does not include a new license.
For Windows 11, use a compatible 64-bit PC and review the Windows 11 hardware requirements first. Microsoft’s x64 Media Creation Tool is not the installation route for every Arm-based device; check the options and instructions on Microsoft’s download page for your hardware.
Create the USB using Microsoft’s Windows 11 tool
- Open the official Download Windows 11 page.
- Read the requirements under Create Windows 11 Installation Media and download the Media Creation Tool from Microsoft.
- Connect the blank USB drive. Run the tool and follow its prompts, choosing the appropriate language and edition.
- Select USB flash drive when asked which media to use. Carefully confirm the correct drive before continuing.
- Let the tool download Windows and finish creating the media. Safely remove the USB when complete.
Use Microsoft’s current on-screen instructions if the tool changes. Avoid unofficial modified installers or tools that promise to bypass licensing. Do not bypass hardware requirements when evaluating whether a PC is supported.
Boot the target PC from the USB
Back up the target PC first and keep any BitLocker recovery key available. Connect the USB, restart the PC and open the manufacturer’s boot menu. The key varies by device; the manufacturer’s support page explains the correct procedure.
Select the USB drive and follow Windows Setup. Pay particular attention to disk and partition choices: deleting or formatting a partition erases its data. A clean installation is different from an upgrade that preserves applications and files. If keeping the current installation is essential, stop and confirm the appropriate route before proceeding.
Choose the correct edition and activate
Install the edition that matches your license, such as Home or Pro. If the same PC already has an applicable digital license, Windows may activate after it connects to the internet. Otherwise, enter the product key for the licensed edition and follow the activation prompts.
A key for a different edition can fail activation. A new motherboard or other major change may also require the activation troubleshooter, depending on the license terms. Read how to activate Windows 11 for the normal checks.
If the USB does not boot
- Confirm the media creation process completed and try another USB port.
- Check the manufacturer’s boot-menu and UEFI instructions.
- Confirm the installation media matches the processor architecture.
- Recreate the media from Microsoft’s official tool if the download or preparation was interrupted.
- Check hardware compatibility before changing security or firmware settings.
Setup guides and product help
Use our Windows 11 Pro installation and activation guide or browse the guides for other editions. The Windows 11 product pages show the available editions and device counts.
If an OfficeGSM order will not activate, contact support with the order number, installed edition and error message. Never post your complete product key in a public forum. Refund eligibility is explained in our 180-day refund policy.